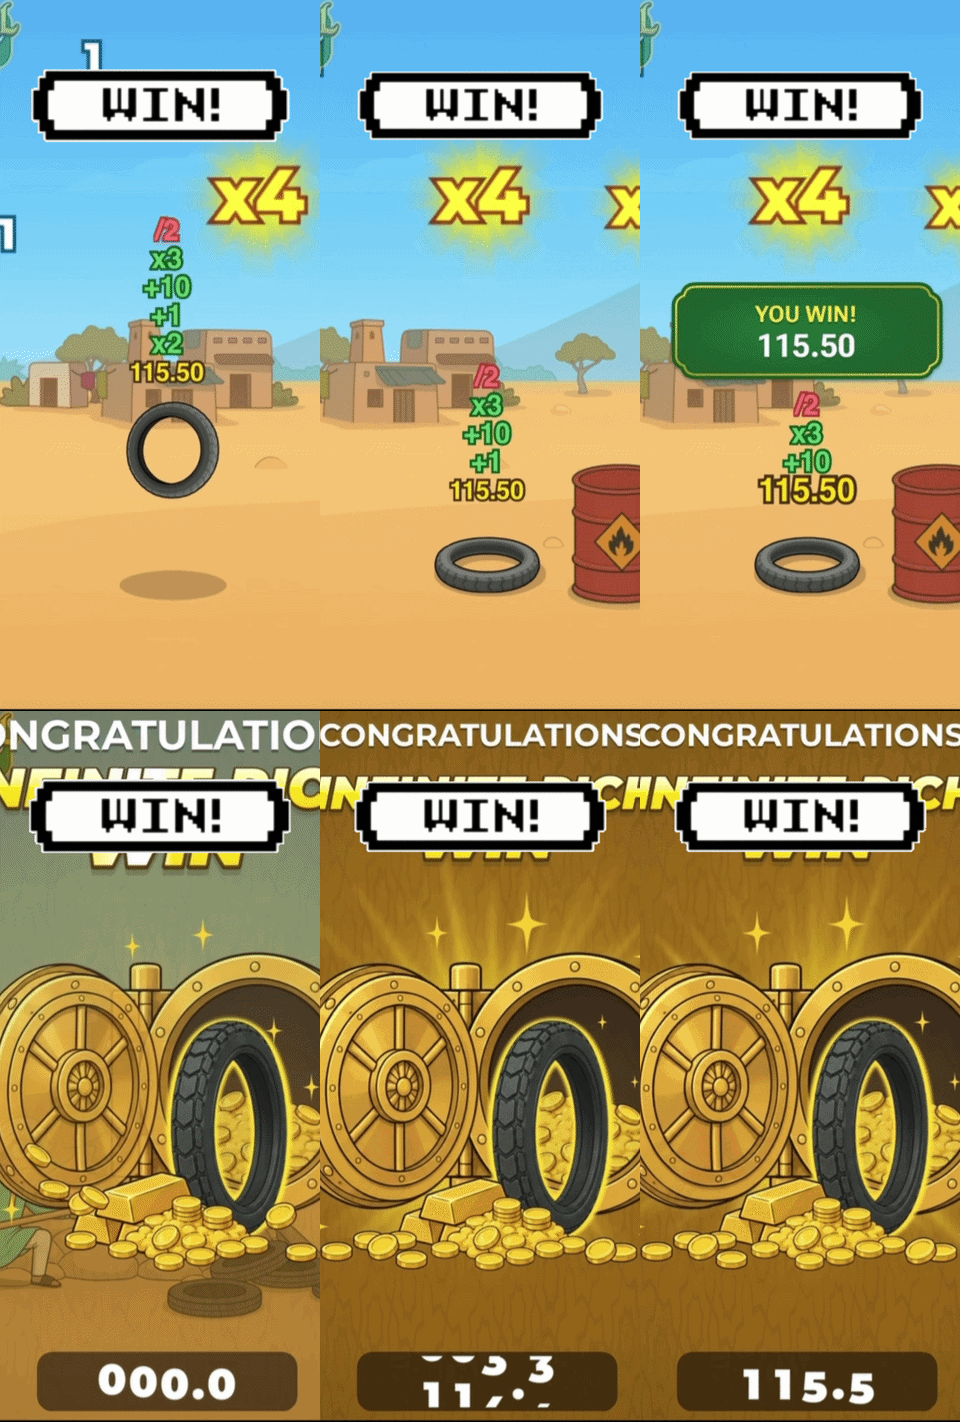
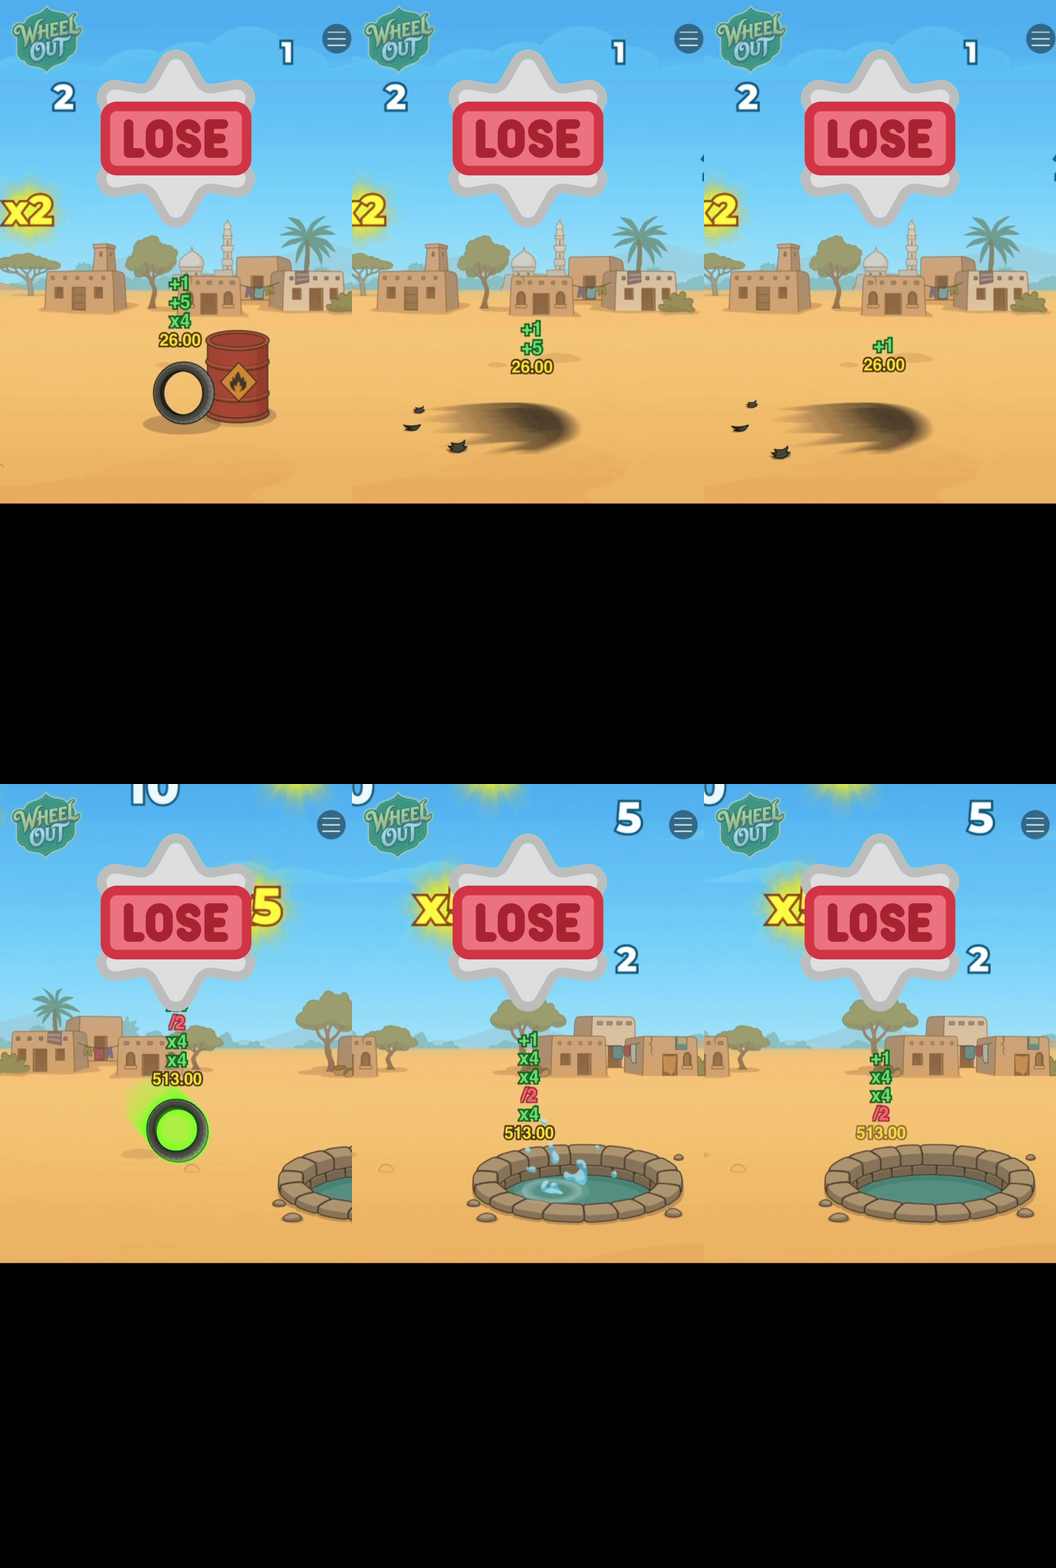
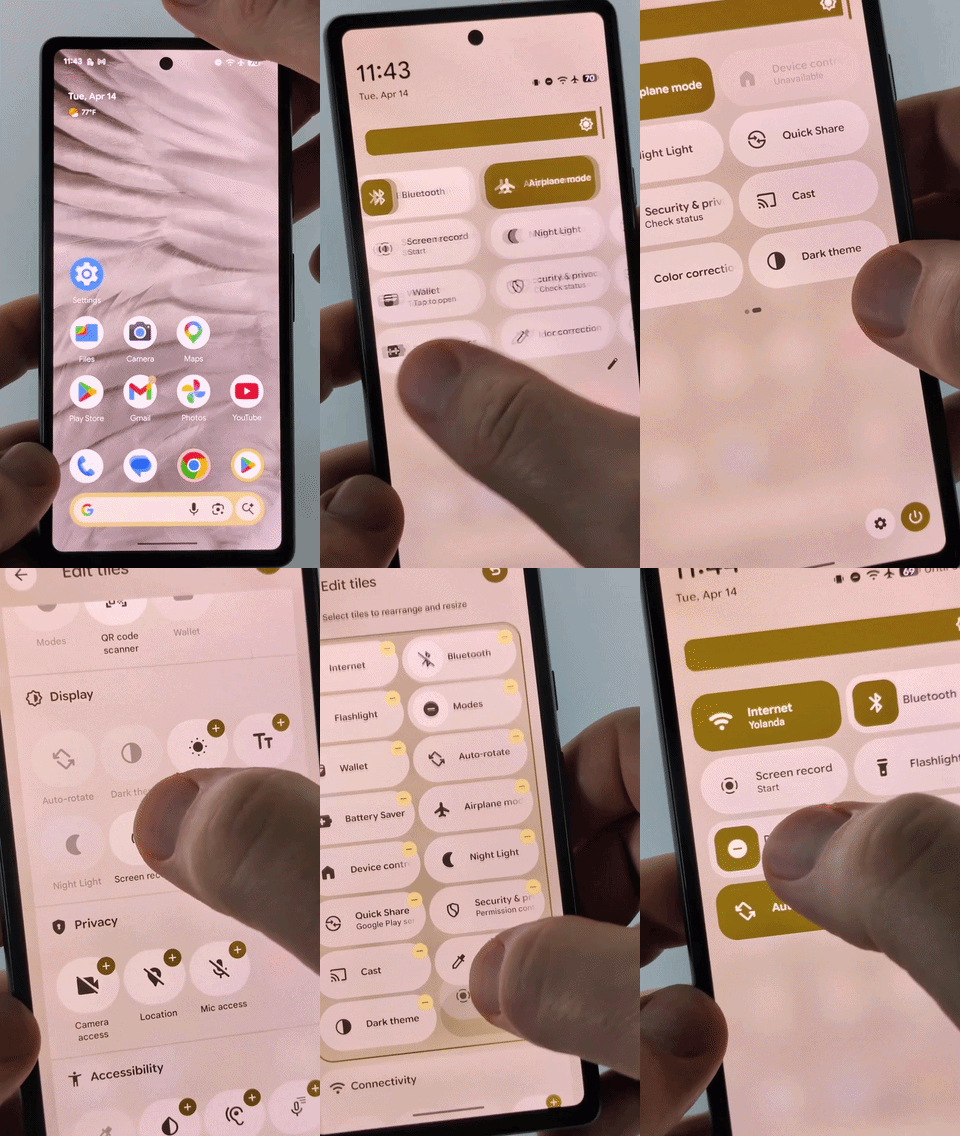
Your recording must include at least ONE FULL SPIN — FROM THE START OF THE SPIN TO THE FINAL RESULT.
Stop the screen recording after you get the moment you need.
Important: do not cut off the beginning of the spin or the final outcome. The clip has to feel complete and readable.
START SCREEN RECORDING
Start SCREEN RECORDING before the spin so the complete game moment is captured.
3
Edit the video
Use any editor you are comfortable with.
CapCutVNInShotPremiere Rushor any other editor
4
Crop the game recording
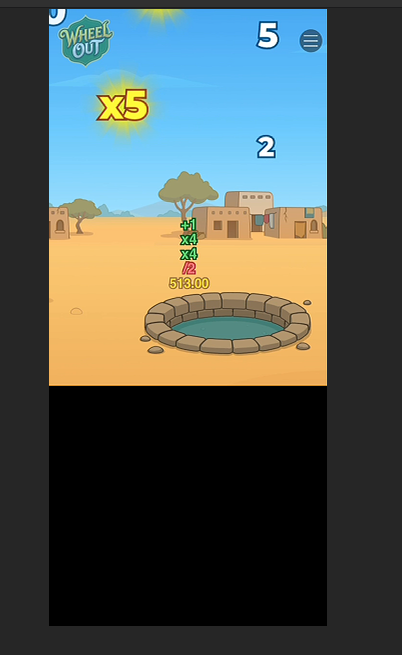
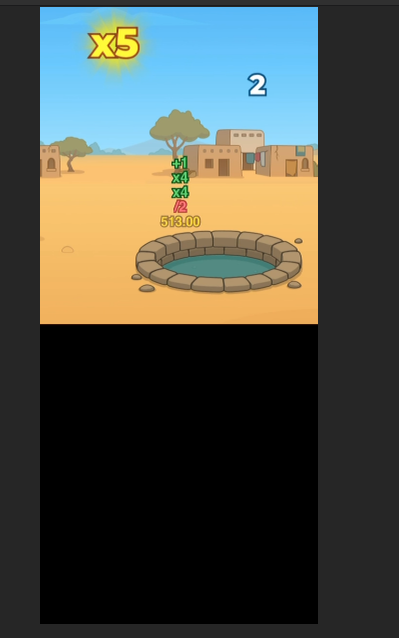
Only the game area should remain visible in the cropped footage.
Remove the entire bottom interface from the video.
Remove balance.
Remove spin buttons.
Remove bet controls.
Remove other unnecessary interface elements.
ONLY THE GAME AREA SHOULD REMAIN VISIBLE.
You can also crop part of the top section if needed — for example, the game logo, menu icon, or any other unnecessary elements.
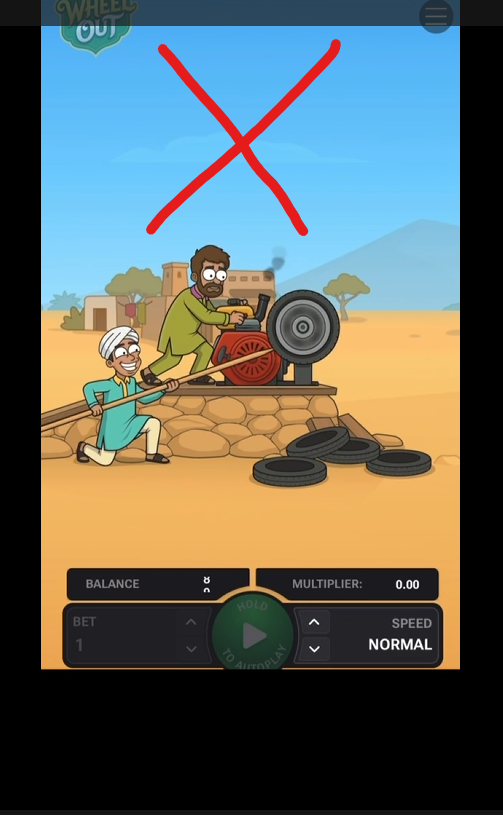
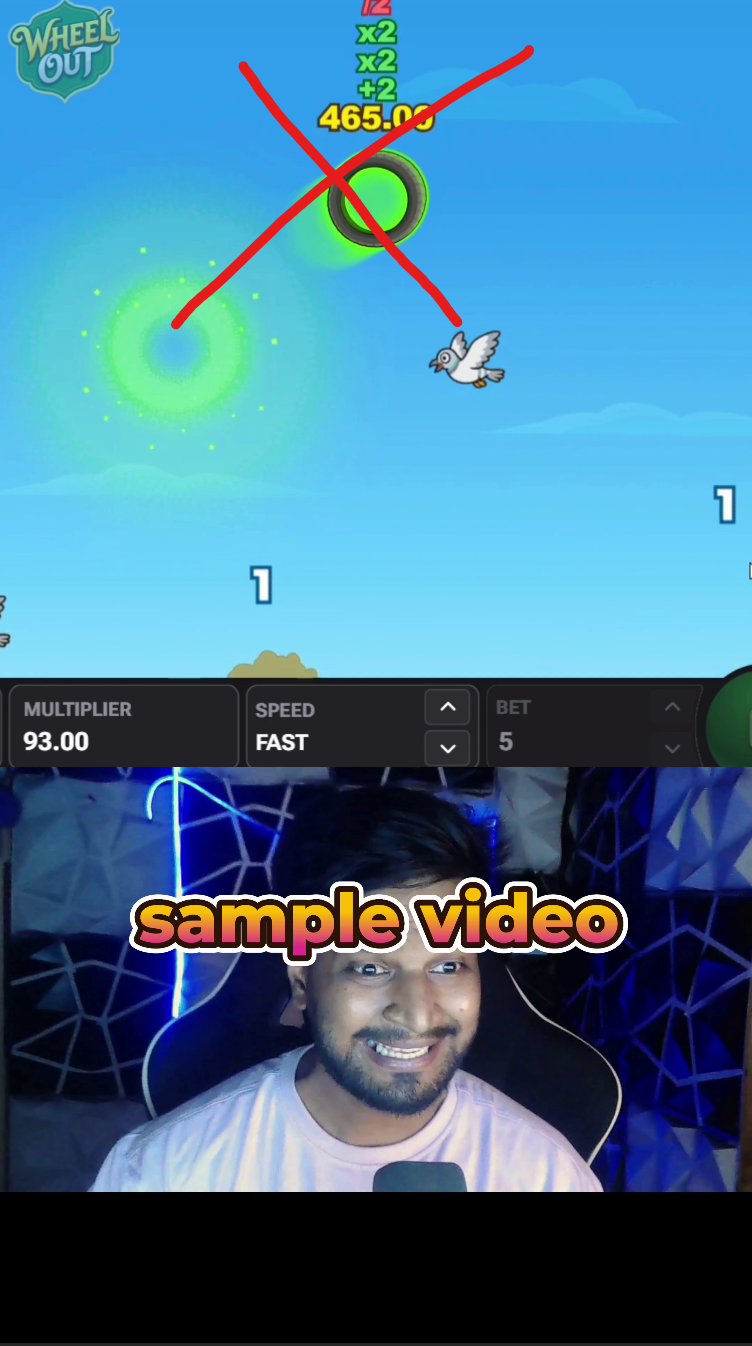
WRONG — NO CUT
This version still shows the game interface and extra unnecessary elements.
RIGHT — CUT
Correct crop example.
RIGHT — CUT 2
Another correct crop example.
5
Build the final video
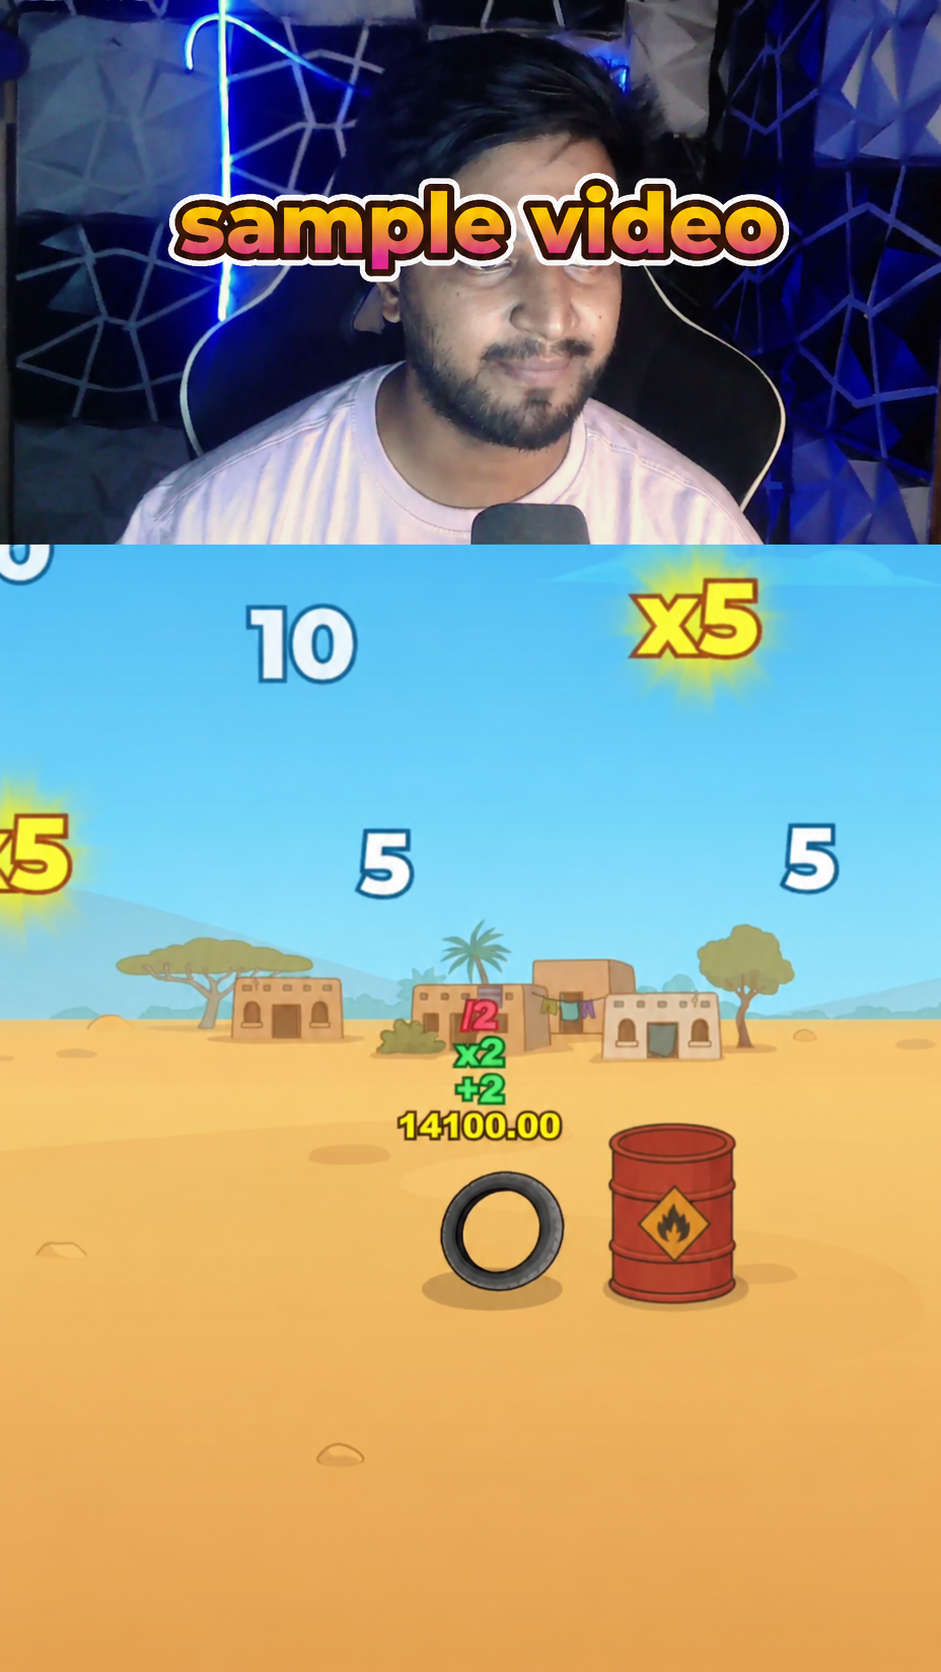
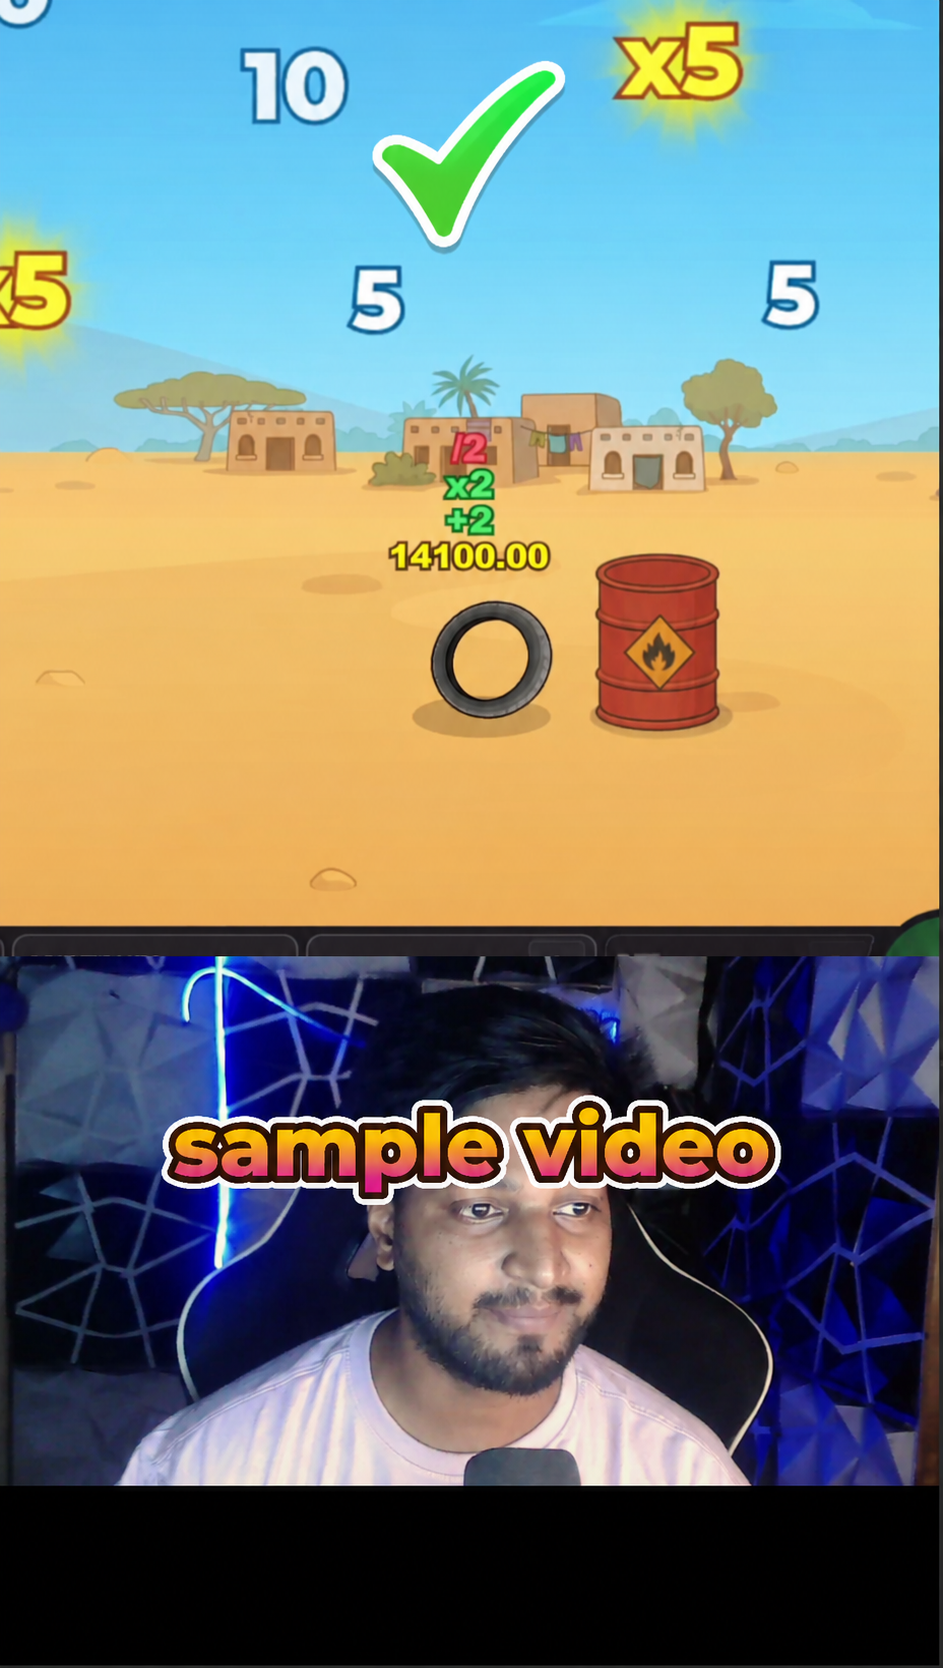
Place the game at the top and your reaction video at the bottom.
Place the game video at the TOP OF THE FRAME.
The game should take up approximately 40–60% OF THE SCREEN.
Place YOUR REACTION VIDEO in the bottom part.
✕ WRONG
Game recording still contains the full interface.Unnecessary top area and raw game view without the final layout.
✓ RIGHT
Correct vertical layout: clean game area with the final composition prepared correctly.Final layout example: game on the top, reaction video on the bottom.
Full video example
Use this finished creative as a reference for the final result.